Installing a virtual machine
This is a short guide on how to create a Virtual Machine using VirtualBox, capable of compiling and running User Mode Linux and Fuse. These are the tools needed for the projects in DM510.
You can also user the IMADA lab or run it on your own Linux machine.
VirtualBox
First you must have Virtual Box installed on your computer. This guide might be of help.
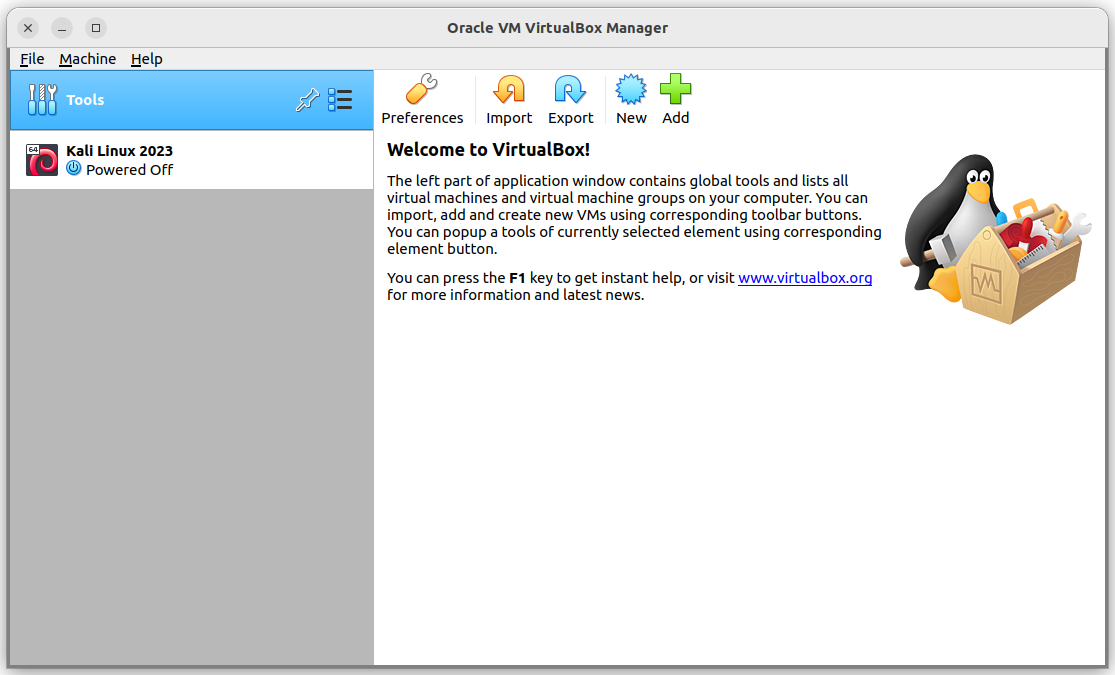
Once you start up Virtual Box, you should see a screen similar to this:
Creating a Virtual Linux Machine
You can choose any operating system you wish, but from a resource point of view, I have selected a Plain Debian system. This is the underlying system of Ubuntu and many other Linux flavours, but its requirements are significantly smaller than for example Ubuntu.
You can download the debian installation image from here. I use the amd64 image, but this is dependant on the architecture of your computer.
Once you have this downloaded, click the New button, and you will see this:
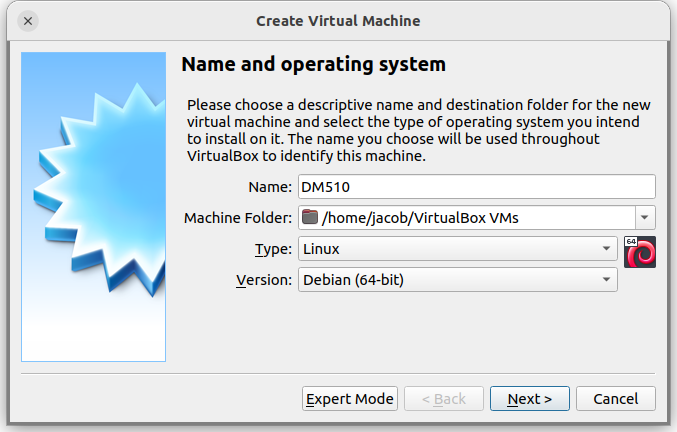
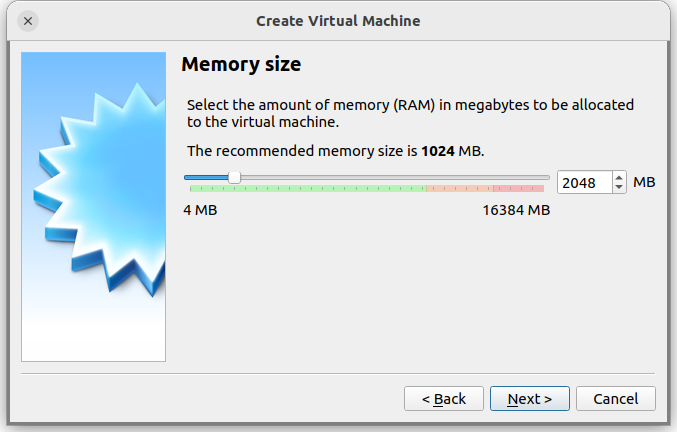
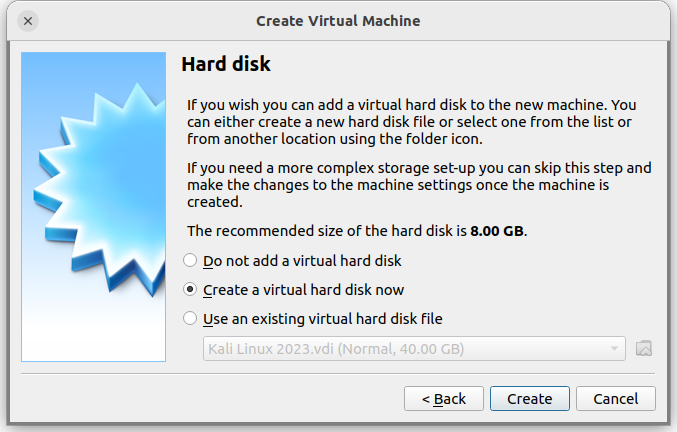
Choose a name, for example DM510, select Linux as type and Debian (64-bit) as version. I prefer 2048 MB for memory, and creating a virtual hard disk.
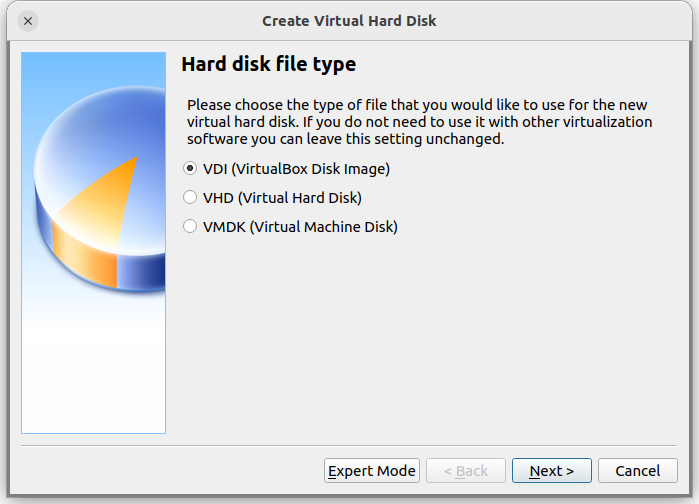
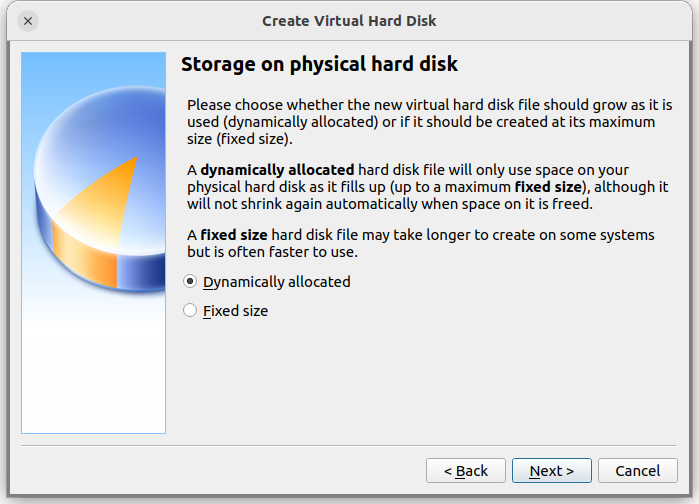
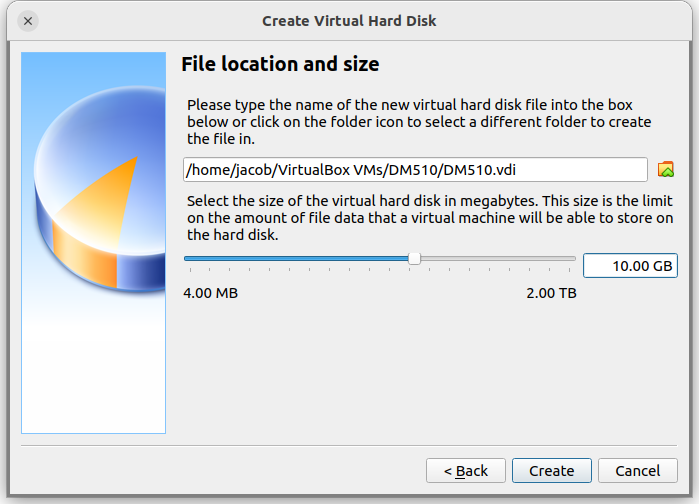
To create the disk, I recommend these settings: VDI, Dynamically allocated, A name you can remember, and 10GB.
update: students have experienced that 10GB might be too low. Use 20GB if possible.
Once you have clicked create, you will see the new VM in the list:
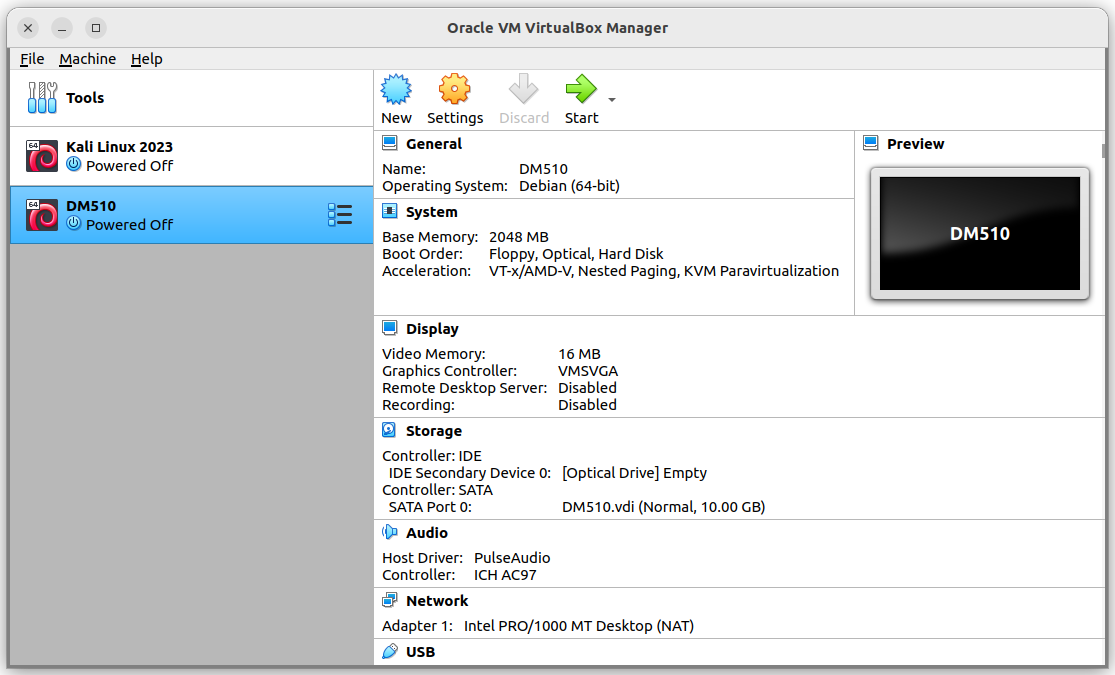
Now you must install the Debian Operating System on your new VM.
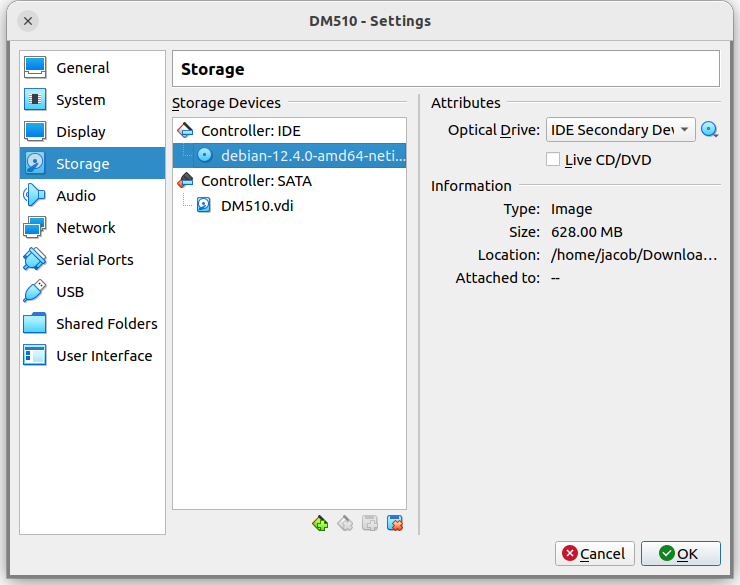
When the VM is selected, click on settings, and go to the storage section. Add as a CD drive (Controller: IDE -> Empty) the downloaded iso file with Debian using the small button of a cd, so your VM will have it available for boot. Your created disk should also be shown.
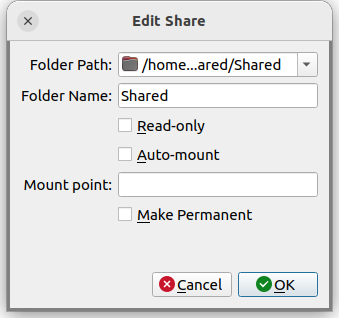
To be able to get files into and out of your VM, you should create a shared folder between the host machine and the VM. Go to the Shared Folders section. Click the small folder with the green plus sign, and find the folder you will share. My folder is called Shared, and this is the name you must use when mounting it inside the VM later.
Click Ok, and back at the main screen. Now you are ready to go.
Installing the operating system
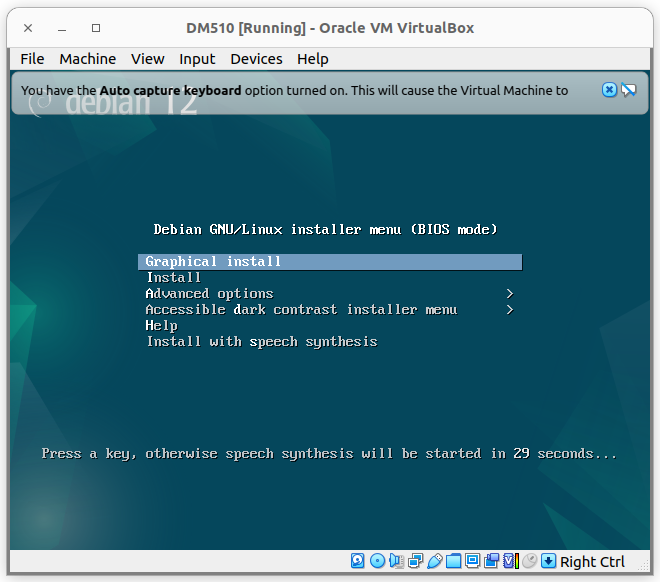
Click the Green start arrow, to boot the VM. After a bit of time, you should be able to install Debian.
Select Graphical install.
I always prefer my OS to be English, so if I need to search for a solution, I get the most used name for errors, components etc.
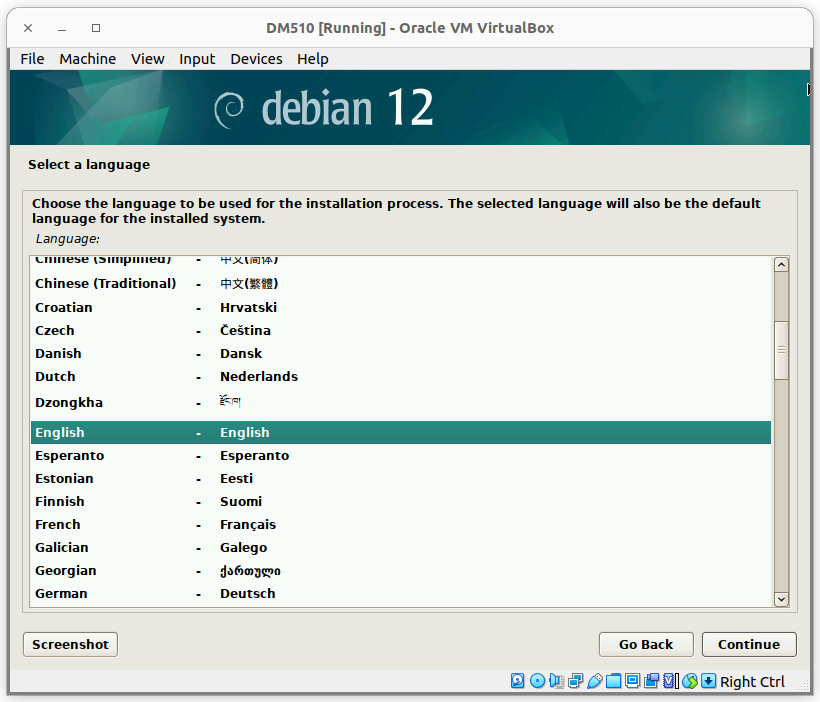
Choose your location, locale and layout of the keyboard, and the installation will proceed
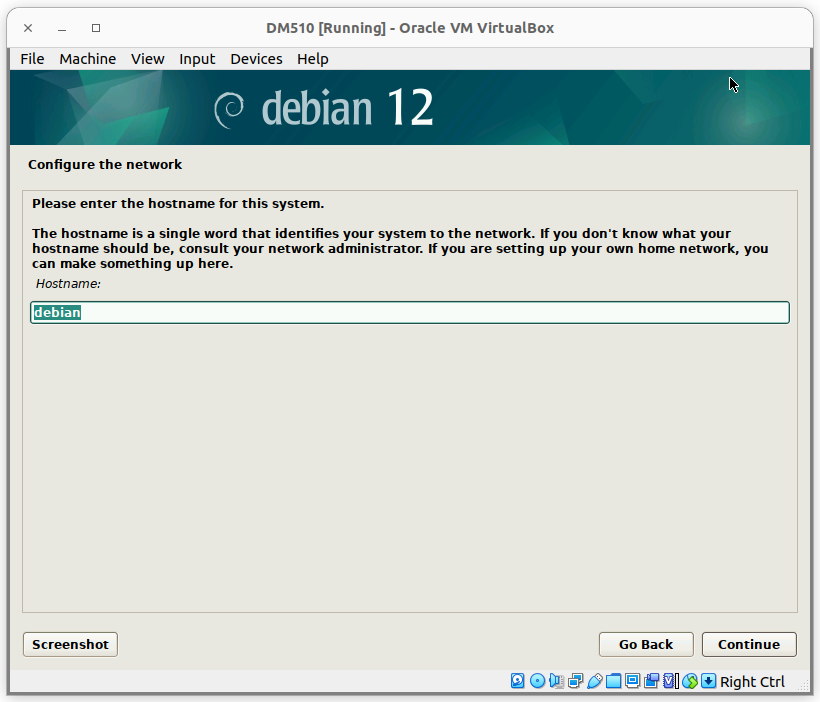
As hostname you can go with debian or if you have a preferred hostname.
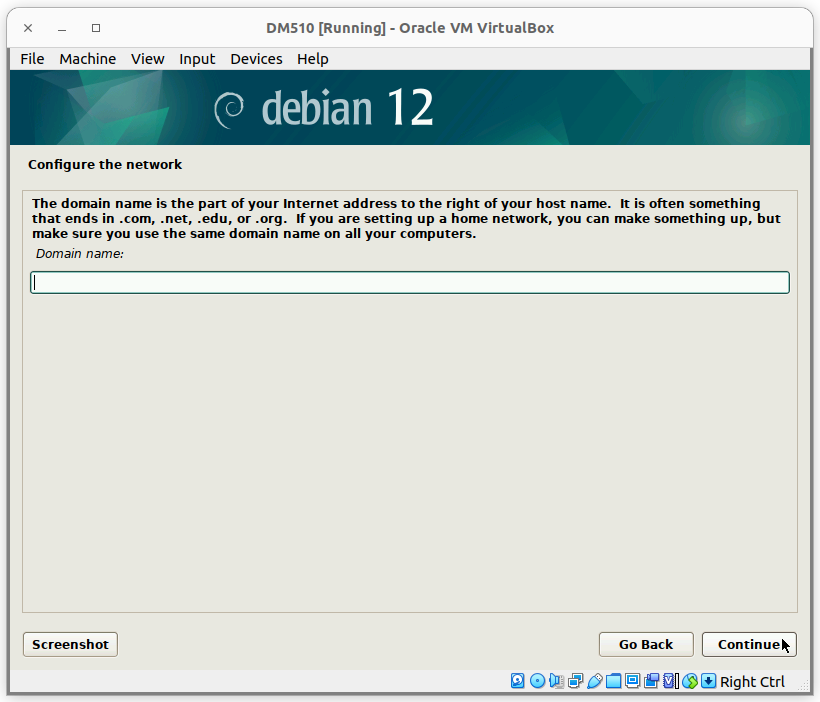
Leave domain name blank
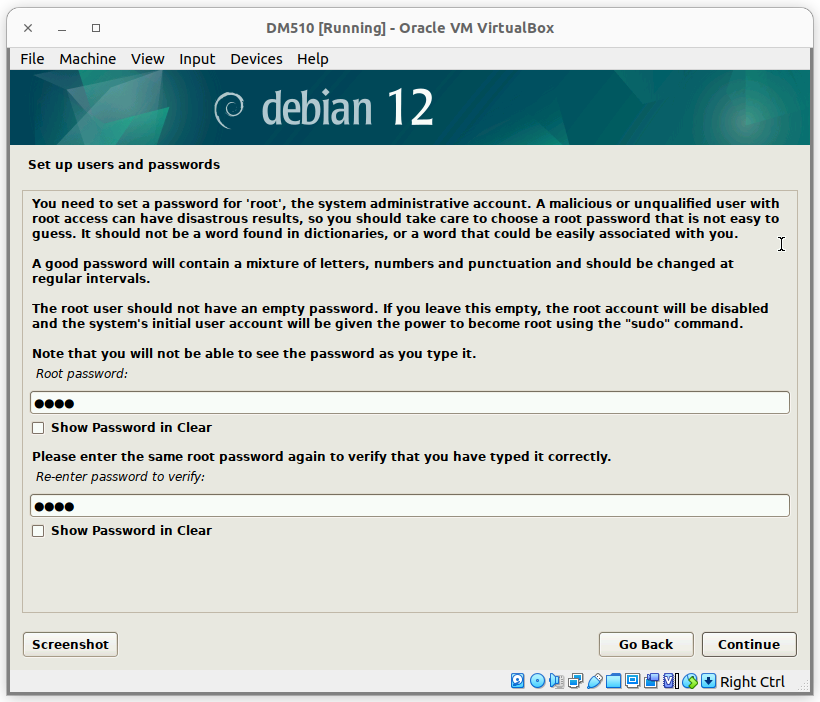
Select a root password that you remember
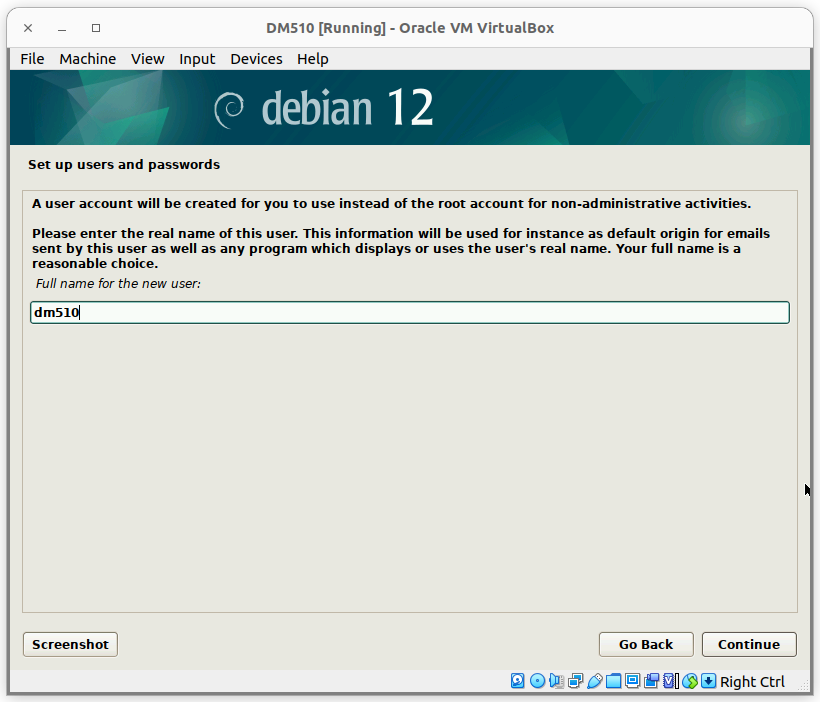
Choose a username. You can use dm510 or a preferred username. Also set your password
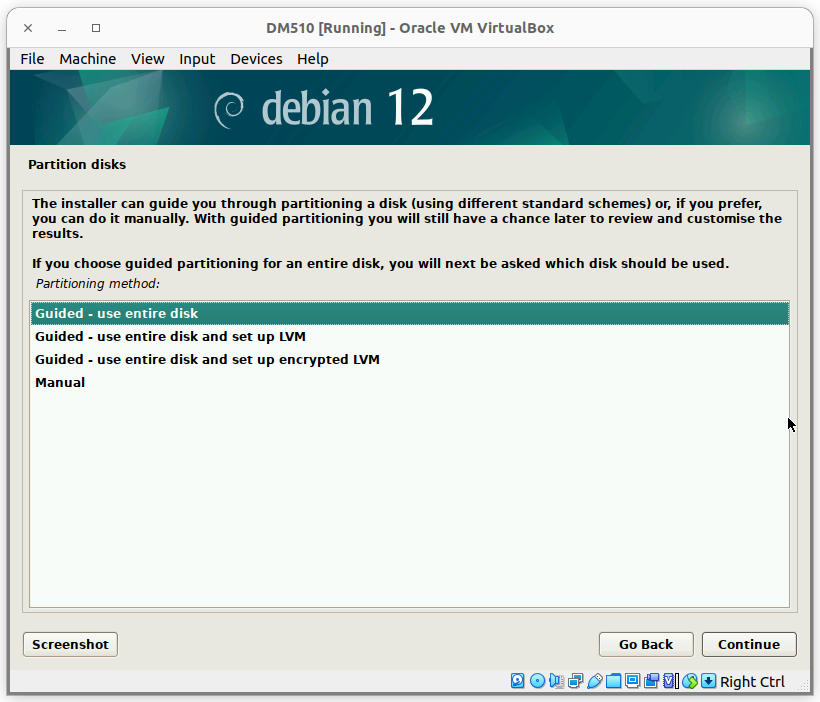
As we have created a new virtual disk, the installation process can use Guided - use entire disk.
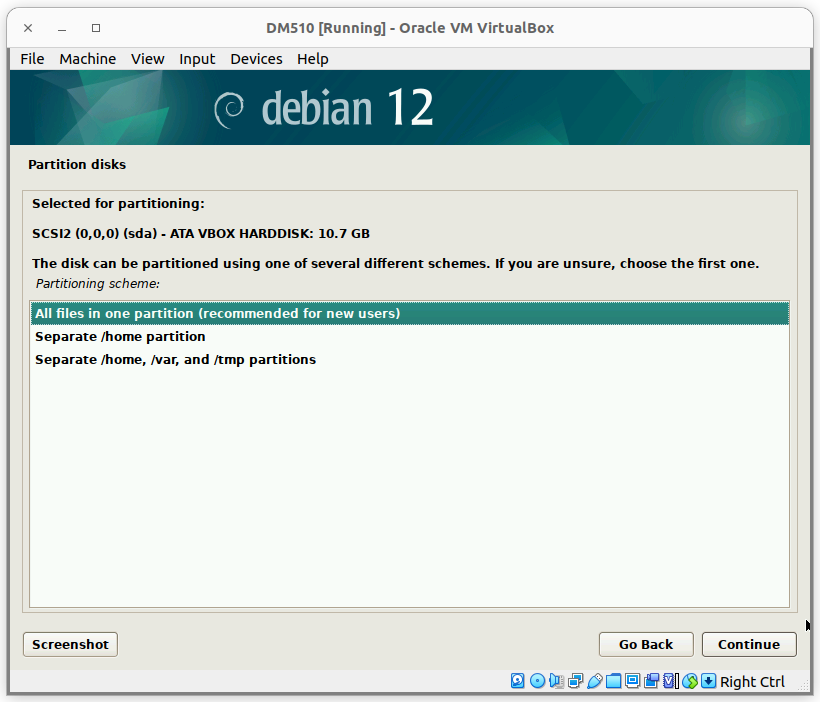
Use All files in one partition
Select Yes to Write the changes to disk. This will install the base system.
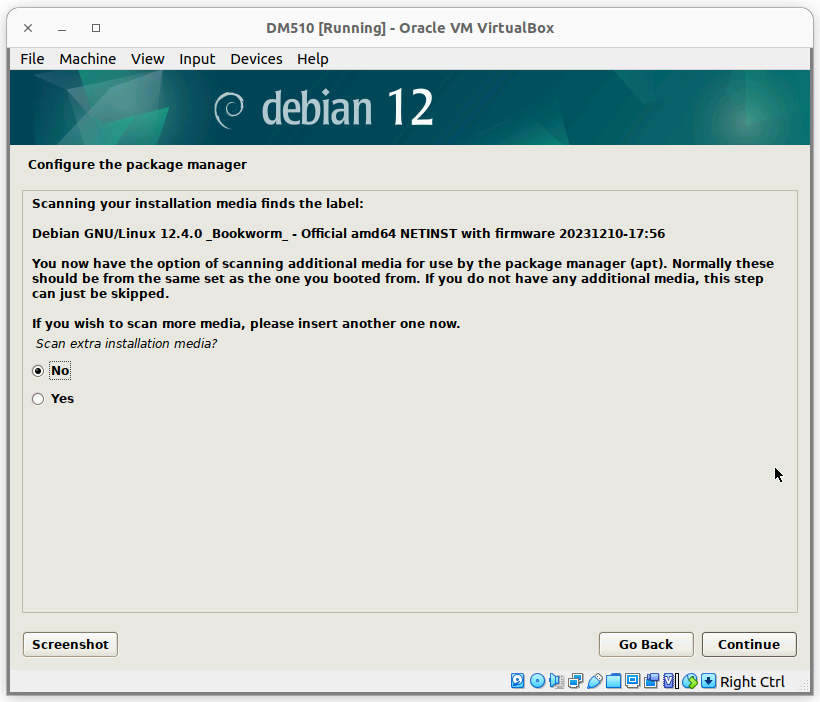
Select No to scan extra installation media.
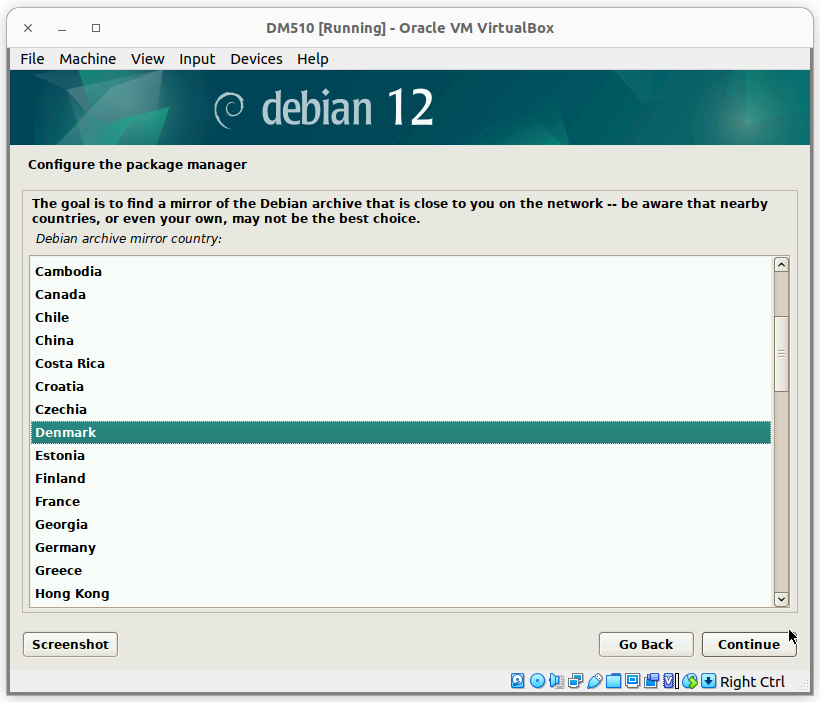
Choose Denmark as location for nearby archive location, and for example deb.debian.org as archive mirror.

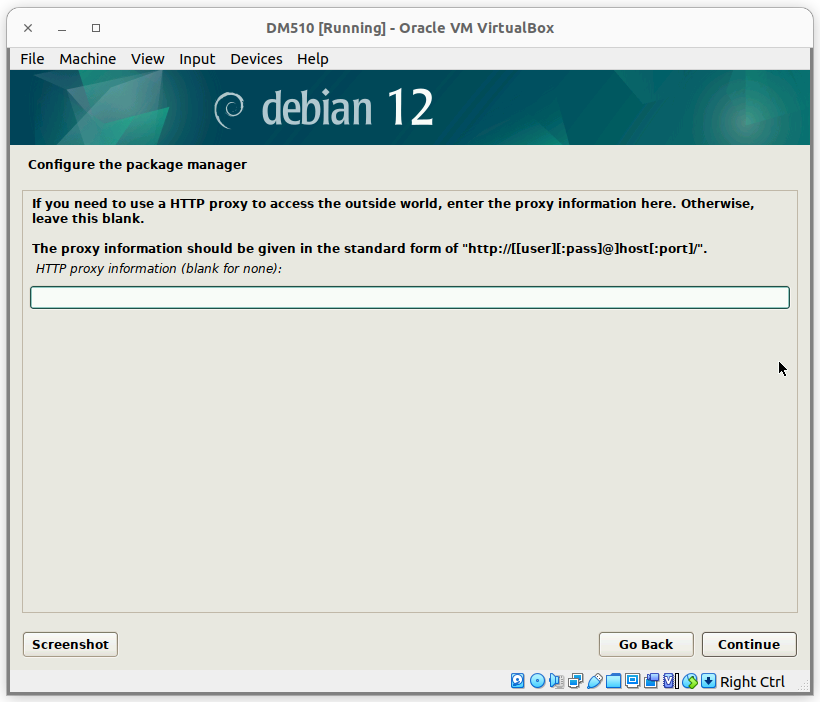
You can leave HTTP proxy blank:
Choose if you will Participate in the package usage survey.
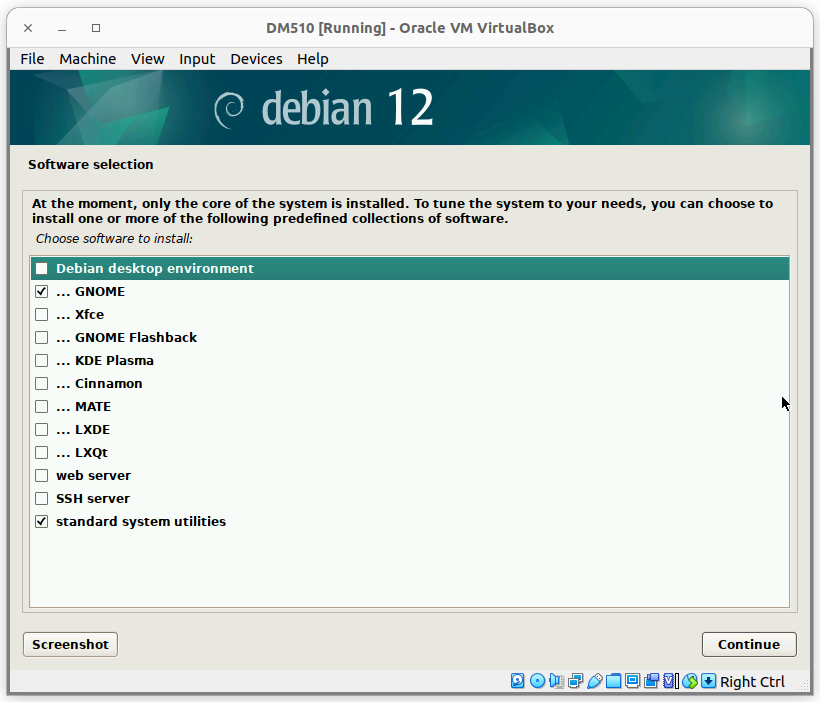
There are many options for Window manager. I choose Gnome, but if you have preferences, feel free to select another.
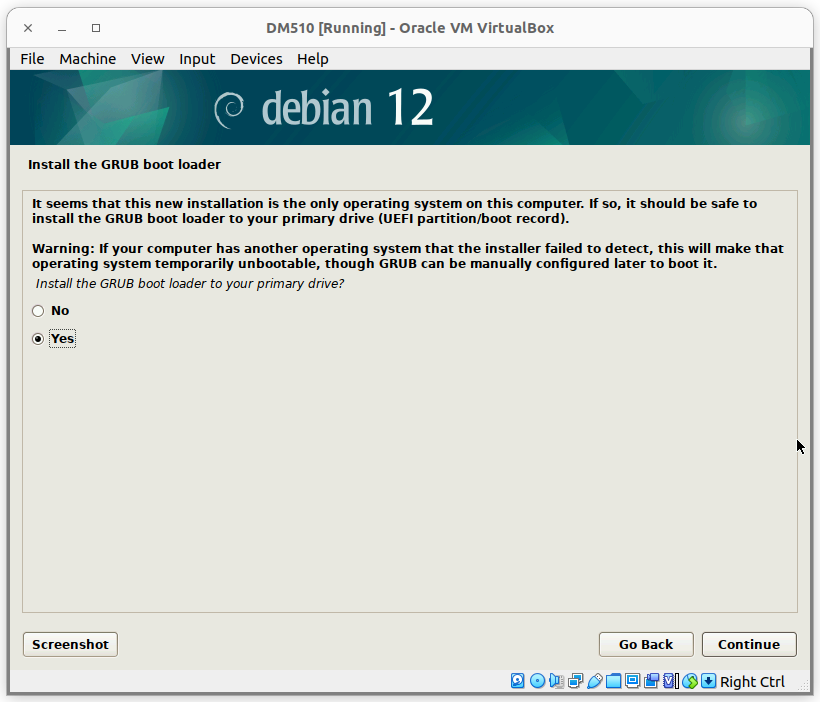
After some installation time, you can accept installation of the GRUB loader to the primary drive and select the only drive available.
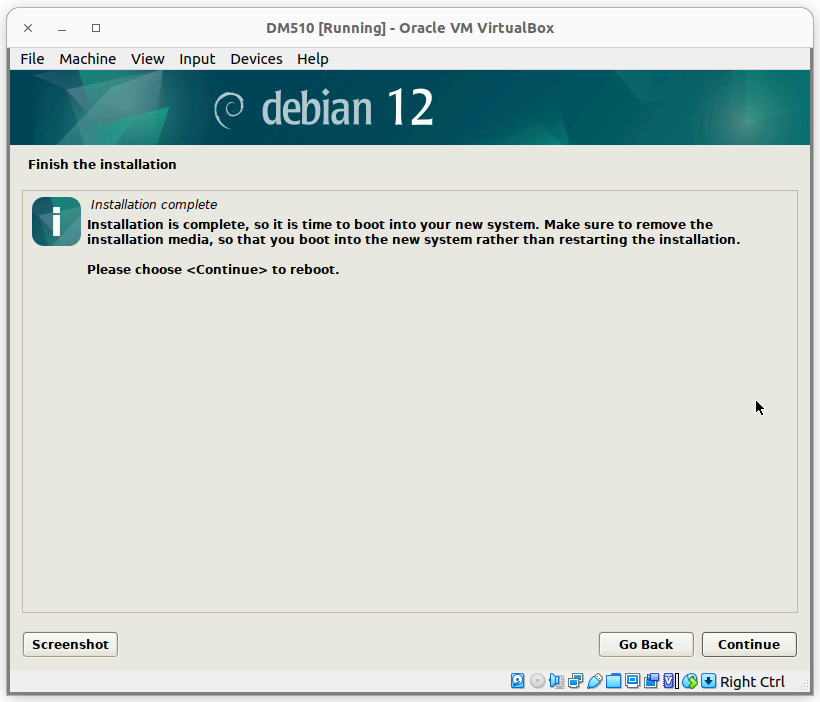
Time to reboot:
After installation
After you login, you can update the screen size in the settings app (Displays).
Your default user does not come with sudo rights. This can be fixed switching to the root user and adding the sudo group to your user.
su - root
#Type the root password
usermod -a -G sudo dm510
Then reboot your system for the change to work.
You can mount the shared folder like this:
mkdir /home/dm510/Shared
sudo mount -t vboxsf  -o rw,uid=1000,gid=1000 Shared /home/dm510/Shared
Once this is done, it is time to update and install a few tools needed. Run the commends below in a terminal.
# Update the packages on the machine
sudo apt-get update
sudo apt-get upgrade

# Install some tools needed to compile fx UML
sudo apt-get install make flex bison gcc xterm uml-utilities screen
Now you are ready to use your VM!